Fermented Jalapeños are so convenient to have in your refrigerator, ready to add to a sandwich, a salad or dip.

This post contains affiliate links, which means I make a small commission at no extra cost to you if you click through and make a purchase. See my full disclosure here.
Do you like hot and spicy foods? In this recipe we’ll be making very convenient sliced and fermented jalapeños that will stay tasty in your refrigerator for a year or more (2-3 years in my fridge!).
They will be ready to use when you need them, just remove what you need and keep the rest for later. You’ll gain in nutrients by fermenting your jalapeños, which adds gut-healthy probiotics. No preservatives or weird sounding ingredients, just jalapeños, salt and a bit of water. How simple is that?
If you love spicy fermented foods, you’ve got to also try my tasty hot sauce with cantaloupe. And if you find a huge pile of spicy green peppers at the end of the season, why not process them into a versatile fermented chili paste to use as seasoning all year round. Use your peppers in a delicious zucchini ikra vegetable spread. Oh, and don’t forget to make some delicious fermented salsa!
Let’s make fermented Jalapeños

Fermentation adds so many benefits to your foods. Read more in my article on fermented vegetables, which also contains master lists for fermenting any vegetables.
There are so many reasons to love fermented jalapeños. Here are some to start, but I’m sure you’ll find more once you make them:
Why you’ll love fermented jalapeños:
- Try topping your burger or hot dog with a few fermented jalapeños, rather than pickled cucumbers, it will add the tanginess of a pickle and an exciting zest.
- Try mixing some into your potato salad. Not only will it add nice crunchy and spicy jalapeños, but your potato salad will get added flavor from a bit of the fermented jalapeño juice mixed into the mayo.
- You will love one of my favorite breakfast toast toppings: Start with some fresh made chevre, strained bonnyclabber, purchased cream cheese, or Greek yogurt. Mix with spicy chopped fermented jalapeños, garlic and herbs. Spread on a slice of toasted sourdough bread. Ultra-yum!
- Since jalapeños only grow in the summer, this is the best way to preserve some, so they are available year round.
- And you will love the convenience of having them all sliced up and ready to use when you need them.
- You’ll love the tangy and salty fermentation flavor.
- You’ll get added nutrients and probiotics that develop during the fermentation of the jalapeños.
- They make a great topping on salads and Mexican foods like tacos.
- They also make a super yummy dip either mixed with sour cream, mayo or cream cheese. Add herbs, garlic and onion to taste and if it’s too thick, add a little of the jalapeño juice, or some milk.
- They are super quick and easy to make in just a few minutes. Make several jars and you’ll be happy you did.
- Jalapeños are so good for your health with loads of benefits.
So I think these are more than enough reasons to make some sliced fermented jalapeños. Let’s get started!
Equipment
2 quart sized glass jars – One for fermenting and one to mix your brine. I recommend using either a standard quart mason canning jar or a hinged top Bormioli Fido jar. Both are great for fermenting.
Fermentation weight – My recommendation is a glass fermentation weight. They are made for this job and do it well! If you don’t have one, use a cleaned and boiled rock, a baggie filled with brine, or some other food-save, non-corrosive item you have on hand, that will keep the ingredients submerged in the brine.
Fermentation lid – Another tool that I cannot recommend highly enough, if you’re using a standard wide mouth mason jar, is a fermentation top or airlock lid. It makes fermentation so easy and maintenance-free. However, as with most things, you can substitute. You can either just use a cloth, secured with a rubber band, or a 2-piece canning lid, or a plastic lid that is made to fit the jar. However, if your lid is the kind that seals the jar, you’ll need to burp it once a day to let any pressure from gasses escape. With any non-sealing lids, keep an eye on your ferment. If there are any floaters that could grow mold, or if there is a thin layer of greyish-white, wrinkled kahm yeast, skim it off. It could taint the taste of your ferment even if it is not harmful. If you’re using a hined-top lid, it will self-vent.
Chopping board and knife – use these to chop your jalapeños. You can also ferment them whole if you prefer, just skip the chopping and make a small slit in your jalapeño to help the brine get inside. Then follow all the other instructions.
Wide mouth Funnel (optional) – Optional, but really handy for canning or fermenting is a wide mouth funnel. It helps to get your ingredients into your jar easily and without a mess (or less mess, in my case).
Ingredients

1 ½ lb fresh jalapenos – Use organic jalapeños if you can. If they aren’t, rinse them. Use of pesticides or fungicides can kill the the beneficial, naturally occurring, bacteria that we’re trying to encourage to grow in a fermentation.
If you would like to grow your own pesticide free jalapeños, check out my comprehensive guide to growing Jalapeños and other peppers – From selecting seeds to planting, growing, companion planting, and harvesting.
5 tsp sea salt – I recommend Redmond’s Real Salt, Himalayan pink salt, or Celtic sea salt. They add valuable minerals to your diet, that are absent in many other salts. You can also use unrefined sea salt or pickling salt. In any case, be watchful of additives. Table salt and even some brands of sea salt and kosher salt can contain additives, so check the box label.
3 cups of filtered water – I use well water that I filter with my Berkey water filter. Don’t use straight municipal tap water. The chlorine and other additives can kill your fermentation bacteria. If that is all you have available, then boil and cool it uncovered or leave it uncovered on your counter for 24 hours, to evaporate the chlorine. Filtered bottled water would be ok to use too.
Steps to make fermented jalapeños
01. Slice your jalapeños

When slicing your jalapeños, you might want to wear some gloves to avoid getting the capsicain on your skin and elsewhere later. I don’t like to wear gloves when cooking, and, well, sometimes I pay for it, lol. Consider yourself warned!
02. Fill your jar
Add the jalapeños to your mason jar. It should be near full. To about an inch and a half below the rim.
03. Make your brine
Add the salt to the water in a separate jar. Stir or shake well to dissolve the salt.
04. Add the brine to your jalapeños

Pour the brine over your jalapeños. They need to be submerged. If you have leftover brine, you can save it for another ferment or use it in your next soup or bread instead of salt.
05. Weigh down your jalapeños

Place a glass fermentation weight on your jalapeños. If you don’t have one, you can use a boiled, clean rock, a baggie filled with marbles or brine, or some other food-save, non-corrosive item you have on hand.
06. Cover your jar

If you are using a mason jar, I highly recommend a fermentation lid. They are self venting and are so easy to use. No maintenance necessary. If you don’t have one, you can use a 2-piece mason jar lid. But you’ll need to remember to burp it once a day. Or you can try to screw the band on very loose, so it can self vent. But keep an eye on the fermentation to see if a yeast layer forms on top, which is harmless, but should be skimmed off or it can give your fermentation an “off” flavor.
07. Fermentation
Place your jar in a dark place with a bowl under it, at about 70-80 ℉. This temperature should be maintained over the course of the next 3 weeks. Some fluctuation is fine, but avoid prolonged lower or higher temperatures. For more details on fermenting and why it is important, visit my lacto-fermented vegetables page that is a beginner course on fermenting.
08. Check your fermentation

After 3 weeks of fermenting your jalapeños, they will have turned an olive color. Open the jar and smell them. They should have a pleasant tangy scent and be firm and crunchy. Now Taste them. If they are nicely tangy and you like them that way, you can refrigerate them at this point. Fermenting them for three to four weeks for a full fermentation yields the highest health benefits.
If for some reason your ferment smells putrid or seems slimy or mushy, you probably don’t want to taste it. Something went awry. But it will still make great food for your compost.
It’s very unlikely that anything will go wrong, if you followed the instructions and used clean equipment, but when you’re dealing with live foods, stuff can happen. Maybe your temperature was too low or too high or your jalapenos had been treated with pesticides. It’s always a bummer, but remember, while it can happen, it is not the norm. Don’t be discouraged and do try again.
09. Storage
If they taste good, then close the jar with a regular lid and place it into the refrigerator. Here it should last at least a year or more. Use as needed. Be sure to save the juice and drink a bit of it each day as a tonic, or use in salad dressings, sauces or soups for a great flavor.
Now, enjoy your fermented jalapeños and Pin this recipe!

Well, that’s all there is to it! You’ll have a jar of tasty jalapeño slices all ready to use in your refrigerator. They’ll be a great addition to your daily meals and a quick and easy condiment to top your lunch sandwiches or burgers. Use a handful of fermented jalapeno slices in a delicious Jalapeño Cheese Pie, an awesome appetizer, potluck dish, or game-day treat.
Not only are fermented jalapenos incredibly tasty, but you’ll do a whole lot of good for your gut, your body and overall well-being by getting more peppers into your diet. Learn all about the benefits of peppers here.
I’d love to hear about your favorite uses for fermented jalapeños and please post a note in the comments if you get to make this!
For more recipes like this and to not miss any uploads, sign up for my Food For Life Garden Newsletter. You’ll get recipes and tips for the homestead kitchen, garden and more.
Right now, you can get FREE downloadable prints for your home when you sign up!
Suggested Reads And More fermenting recipes
Pepper Uses and Benefits – Learn about all the awesome benefits and uses for sweet and hot peppers and how to use peppers to improve your health.
Jalapeño Cheese Pie – A long-time favorite dish of mine that I make each year when my jalapenos put out fruit in the garden. It’s an old recipe that makes an awesome appetizer, potluck dish, or game-day treat.
Jalapeño Popper Quiche Cups – Jalapeño popper quiche cups are little creamy savories in a flaky pie crust for parties, potlucks, holiday spreads, game day treats, snacks, or lunch. Great to make ahead and freeze!
Fermented Garlic and Honey – A powerful combination of two all-star infection and sickness fighters. Make this easy remedy today and be ready for cold and flu season!
Grow your own peppers from seeds – Your complete guide to growing peppers. From selecting seeds to planting, growing, companion planting, and harvesting. Find out the benefits of growing your own peppers and how to preserve them.
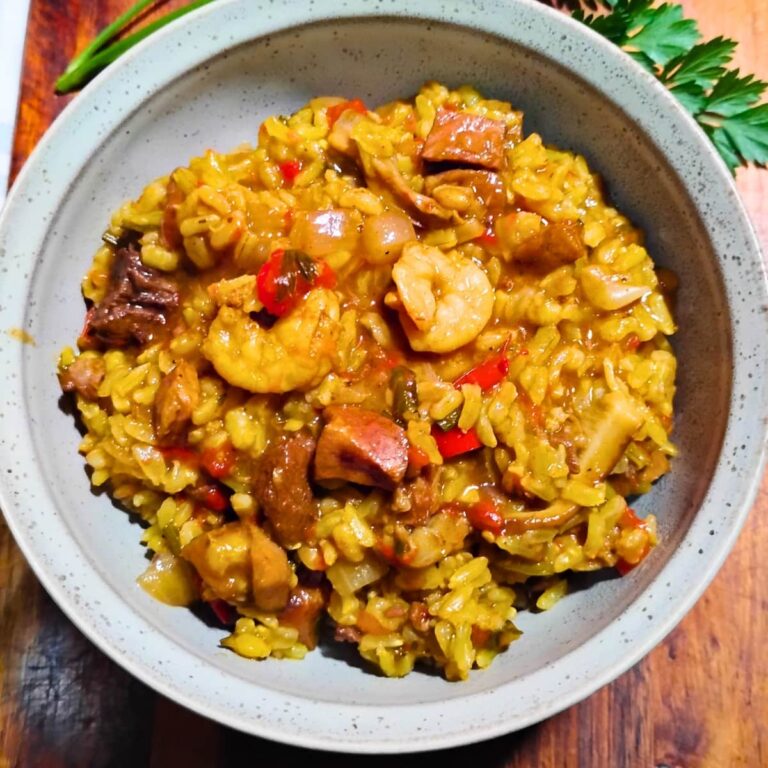
Spicy Ham Jambalaya – A perfect recipe for using leftover meat and veggies. I love it for leftover Christmas or Easter ham!
Zucchini Ikra, A Vegetable Spread – This fantastic, versatile dish from Eastern Europe can be a delicious chunky salad, salsa, relish, topping, or creamy dip, and more. And it tastes awesome!
Fermented Garlic – Lacto-fermented garlic paste is kind of a special food. It’s the ultimate convenience food and health supplement. But besides that, it gets better as it ages. Just like a fine wine.
Fermented Chili Paste – Here is a great way to preserve your end-of-the season harvest of green peppers. This paste will last all year in your refrigerator to use as a condiment, seasoning, or topping.
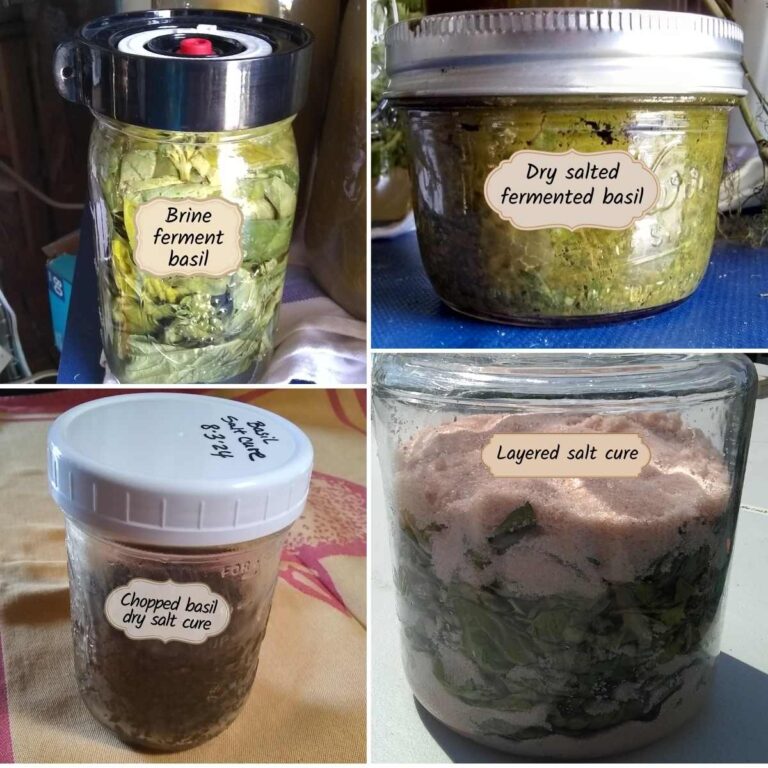
Fermented Basil Paste – Keep a jar of this in your refrigerator all year, to season your italian dishes. Preserve not only the herb, but also its aroma and pungent basil flavor. It’s one of my favorite ways to preserve basil.
Preserve Eggs In Lime Water – Store fresh eggs for a year or longer in a lime water solution and use them like fresh eggs even after a year.
Fermented Onions – Keep some onions ready to use on Sandwiches or to put on your salads. Zesty or plain, onions taste great when fermented, and you’ll get the benefits of probiotics.
Fermented Hot Sauce With Cantaloupe – How to make a delicious fermented hot sauce that is great with meat, fish, eggs and on sandwiches. What a great way to use some cantaloupe and spicy peppers.
Fermented Cucumber Pickles – How to ferment your excess of cucumbers to enjoy all year long and with the added benefit of improving your gut health with probiotics.
Fermented vegetables – How to ferment your summer’s bounty to enjoy it all year long and with the added benefit of improving your gut health with probiotics. Learn the basic skill of fermenting any kinds of vegetables, learn about the benefits of fermentation and get the science behind it too.
Zucchini Ikra, A Vegetable Salad – This fantastic, versatile dish from Eastern Europe can be a delicious chunky salad, salsa, relish, topping, or creamy dip, and more. And it tastes awesome!
Pin this post


Simple Fermented Jalapeños Recipe
Equipment
- 2 quart sized glass jars – Use wide mouth canning jars, or a hinged-top Fido jar for fermenting and one jar for making the brine.
- Fermentation weight – I recommend a glass fermentation weight
- Fermentation Lid – for wide mouth mason jars, I recommend a fermentation top or airlock lid.
- Chopping board and knife
- Wide mouth funnel – (optional). A wide mouth funnel for getting your ingredients into the jar.
Ingredients
- 1 ½ lb fresh jalapeños organic
- 1 ½ tbsp sea salt
- 3 cups of filtered water
Instructions
- Slice your jalapenos. When slicing your jalapeños, you might want to wear some gloves to avoid getting the oil on your skin and elsewhere later. I don't like to do that and sometimes I pay for it, lol. So be warned!
- Fill your jar. Add the jalapeños to your mason jar. It should be near full. To about an inch and a half below the rim.
- Make your brine. Add 2 tablespoons of salt to one quart of water in a separate jar. Stir or shake well to dissolve the salt.
- Add the brine to your jalapenos. Pour the brine over your jalapeños. They need to be submerged. If you have leftover brine, you can save it for another ferment or use it in your next soup or bread instead of salt.
- Weigh down your jalapeños. Place a glass fermentation weight on your jalapeños. If you don't have one, you can use a boiled, clean rock, a baggie filled with marbles or brine, or some other food-save, non-corrosive item you have on hand.
- Cover your jar. If you are using a mason jar, I highly recommend a fermentation lid. They are self venting and are so easy to use. No maintenance necessary. If you don’t have one, you can use a 2-piece mason jar lid. But you’ll need to remember to burp it once a day. Or you can try to screw the band on very loose, so it can self vent. But keep an eye on the fermentation to see if a yeast layer forms on top, which is harmless, but should be skimmed off or it will make your fermentation taste off.
- Place your jar in a dark place with a bowl under it, at about 70-80 ℉. This temperature should be maintained over the course of the next 3 weeks. Some fluctuation is fine, but avoid prolonged lower or higher temperatures. For more details on fermenting and why it is important, visit my lacto-fermented vegetables page that is a beginner course on fermenting.
- After 3 weeks of fermenting your jalapeños, they will have turned an olive color. Open the jar and smell them. They should have a pleasant tangy scent and be firm and crunchy. Now Taste them. If they are nicely tangy and you like them that way, you can refrigerate them at this point. Fermenting them for three to four weeks for a full fermentation yields the highest health benefits.
- If for some reason your ferment smells putrid or seems slimy or mushy, you probably don't want to taste it. Something went awry. But it will still make great food for your compost. It's very unlikely that anything will go wrong, if you followed the instructions and used clean equipment, but when you're dealing with live foods, stuff can happen. Maybe your temperature was too low or too high or your jalapenos had been treated with pesticides. It's always a bummer, but remember, while it can happen, it is not the norm. Don't be discouraged and do try again.
- If they taste good to you, then close the jar with a regular lid and place it into the refrigerator. Here it should last at least a year or more. Use as needed. Be sure to save the juice and drink a bit of it each day as a tonic, or use in salad dressings, sauces or soups for a great flavor.
Shop this post
Wide mouth funnel
Fermentation tops
Airlocks
Berkey water filter
Redmond’s Real Salt
Himalayan pink salt
Celtic sea salt
Bormioli Fido Jar
Azure Standard – get organic ingredients at this buyer’s club.
My husband will love these. He likes adding jalapenos to everything. Thanks for sharing a simple recipe with lots of info. 🙂
Hey Alisha, thank you so much for commenting. I think your husband has great taste! 😊 And I think he will love fermented jalapenos!
I love fermented jalapeños! I admit I was unsure at first, but they taste really good and have a surprising array of uses. I had not thought of some of your ideas, though! Looking forward to trying them.
Hey Rachel, I’m glad if I could give you some new ideas. I love finding new ways to use fermented jalapenos!
My mouth watered while reading this! Never fermented jaleenos but now i need to try!
I hope you get to try it! I think you will love them.