Easy Fermented cucumber pickles is a recipe for preserving cucumbers and creating a delicious gut and immune supporting probiotic food.

This post contains affiliate links, which means I make a small commission at no extra cost to you if you click through and make a purchase. See my full disclosure here.
If your garden produces more cucumbers than you can possibly use fresh, there are several ways to preserve the abundance. But my favorite go-to is to preserve them by lacto-fermentation! Fermenting cucumbers in a salt brine makes such absolutely delicious, zesty, and tangy pickles. And they are packed with probiotics!
Capture the vibrance of summer and release it during a time when your immune system can use a boost. You’ll savor these brine fermented pickles no matter if you eat them whole, sliced on sandwiches, or as a condiment with dinner. Use even the brine as a digestive tonic and you’ll be doing your gut and your health a great favor.
Why preserve cucumbers by lacto-fermentation
There are many ways to preserve cucumbers and all have their merits. I love blending and freezing some to make smoothies or cucumber soup in winter.
Cucumber chips are an awesome snack food and are shelf stable when stored in a sealed container. But initially it requires running a dehydrator or oven for extended periods. Since I don’t have abundant electric power, I don’t own a dehydrator.
Making vinegar based canned pickles is a great and tasty way to make cucumbers shelf-stable, but there is a more nutritious method to make pickles: by lacto-fermentation.
1. Making lacto-fermented cucumbers requires no energy
Fermenting requires no power at all if you have a root cellar to store them. I don’t now at my new current location, so I use an old chest freezer that is converted into a “cheese cave” by thermostat and runs at about 55 degrees and this is where I store my ferments, next to all the cheeses.
2. It’s Quick and Easy to make Fermented Cucumber Pickles
Fermenting cucumbers is also the quickest way to preserve pickles in my opinion. Just stuff the jar with cukes and a few spices, fill with salt water, cap, and set aside to ferment. Easy-peasy when you’re busy with harvesting.
3. Lacto-fermentation adds valuable probiotics
Fermenting will keep the cucumbers raw and will not only preserve the vitamins, minerals and enzymes that are present in the fresh picked vegetables, it will increase some vitamins. But best of all, the process of lacto-fermentation will add a bonus by developing probiotics, which are super valuable for your gut health and immune system. There are so many health benefits which you can read about in Basics of lacto-fermented vegetables.
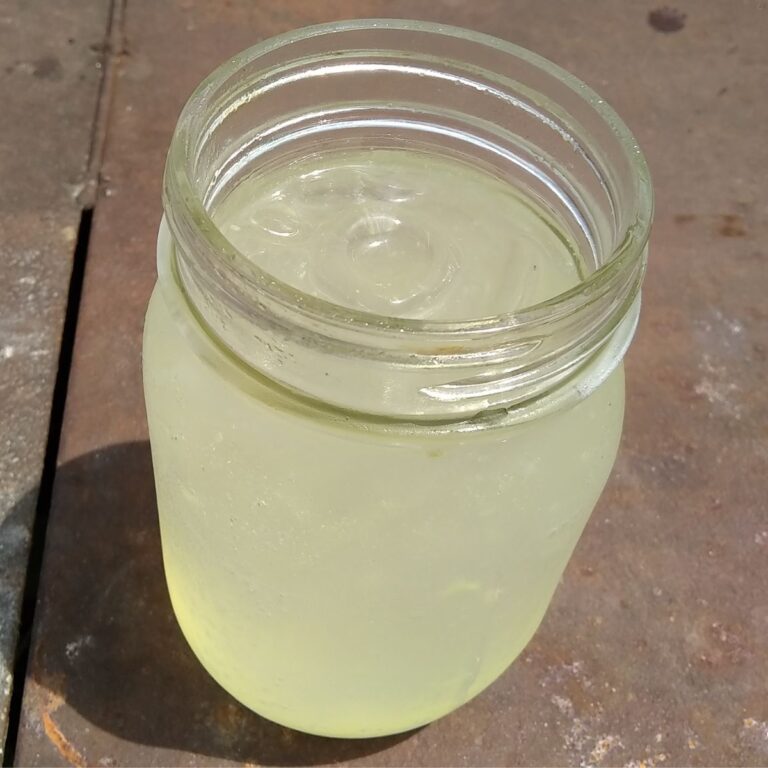
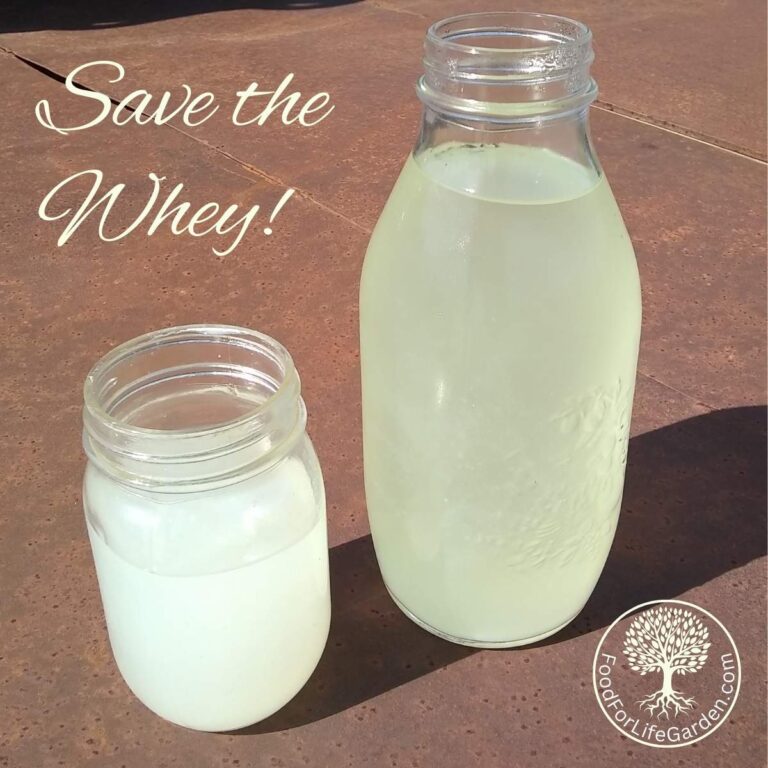
Lacto-fermentation can be initiated by adding a starter. This can be a spoonful of whey from yogurt or cheese for example, a bit of brine from a finished batch of fermented food, or a purchased culture. Adding these specific bacteria can steer the fermentation into a distinct direction and is often utilized in cheese making, wine making, or beer brewing.
Wild fermentation
But for our fermented cucumbers here, we’ll utilize the naturally present lactic acid bacteria, that live on all vegetables and in our environment. By adding salt, we can draw the juices from the cucumbers, which creates the perfect environment for these microbes to flourish.
Lactobacilli eat the sugars that are drawn from the vegetables and convert it to lactic acid in the process. This is a valuable substance, that can enhance our gut health and is useful for many natural processes. The salty and acidic environment that has been created will be inhospitable for undesirable bacteria and prevent them from multiplying. Because of this, we can store the fermentation in a cool environment for a year or two with no ill effects.
How to make fermented cucumber pickles
Now let’s make some delicious homemade fermented cucumber pickles.

Equipment for making fermented cucumber pickles
A container for fermenting.
My favorite container for whole cucumber pickles is a half gallon mason jar. If you prefer to ferment spears or chips, a quart size mason jar works great too.
You can use most any glass containers, like used pickle containers or other glass jars. Plastic must be food-safe and should be bpa-free. You can use five gallon food grade plastic buckets for bulk fermentation or food grade plastic tubs such as the cambro bpa-free container. A food safe ceramic container such as a crock pot insert or a dedicated fermentation crock will work as well.
Do not use metal containers or non-food-grade plastic. Make certain that imported ceramic containers use a food-safe, lead-free glaze.
Homestead Tip: My suggestion is that if you’re a beginner, start with several smaller containers, such as quart or half gallon jars rather than one large container. Use different spices in each and discover your favorite combination.
Lid or other cover
You can use a butter muslin, floursack towel or tea towel to cover your lid-less container for keeping bugs and debris out. A coffee filter works as well. However, in this case keep a close eye on the ferment, check regularly and skim off any floaters or the thin layers of kahm yeast that might form on top.

Optional but very helpful and this is my preference, are fermentation tops or airlocks when you use mason jars. Fermentation tops and airlocks do a great job at keeping out oxygen and allowing the gasses in the container to escape. No burping required, no fear of explosion and less chance of spoilage if some floaters make their way to the surface.
A Fermentation weight (optional but very helpful).
This is a somewhat heavy object, that can keep all the solid ingredients submerged in the brine. Fermentation is taking place in an anaerobic environment and any floaters, which have contact with oxygen might spoil if they are not continually pushed back under or skimmed off.
Here are some options: glass weights for your mason jars, or ceramic weights, which also come in larger sizes. I have also used a small plate in my cambro plastic container, a larger plate in a 5 gallon bucket, a clean scrubbed rock, a freezer bag filled with filtered water, marbles or non-sharp, clean gravel, or a food-safe plastic lid that fits inside the container opening.
You can also try a large piece of any vegetable wedged into a canning jar, which is too big to get loose and float. I try to stuff the cucumbers tightly in a way that they can’t get loose even after they soften.
Your choice of weight should not be made of metal and should be food-safe.
Ingredients for fermented cucumber pickles:
All you need for basic fermented cucumber pickles are cucumbers, salt and water. This allows the veggie itself to shine in its own glory with no competitors for flavor.
It’s quick and easy and the most basic way to ferment. If you’re just getting started, you might want to skip all the flavorings and find out what fermented cucumber pickles taste like on their own.
However, leaving your ferments plain can get boring and there are so many things we can do to change up the flavor, add more health benefits, and give these pickles pizzazz!
Let’s make some easy basic dill pickles and then we’ll experiment!
Cucumbers:

Cucumbers are best when fermented whole, for a better chance at remaining crispy. But you can ferment them as spears or chips as well if you prefer.
The best pickling cucumbers are small and freshly picked before the air warms in the morning. Once the day gets very warm, they loose some of their crispyness. Use any small pickling type cucumbers. These can be Chicago picklers, Kirby cucumbers, Beit alpha, Gherkins, Boston pickling, Homemade pickler, or my favorite, a German variety: Vorgebirgstrauben.
If you shop at the market, choose small, firm, fresh looking cucumbers. If you want crispy cucumbers, drop them into salted ice water immediately after getting them to your kitchen, to keep them firm and crisp them up.
Some varieties are not so well suited for pickling, because their skin may have a wax coating or if they have a large seed cavity. These are usually the fat salad cucumbers at the market. Skip them for pickling.
Plan on about two pounds of cucumbers per half gallon container, which is my preferred size for pickling whole cucumbers. It’s hard to efficiently squeeze a pound of whole cucumbers into a quart jar unless they are tiny. If you want to ferment spears or chips, a pound of cucumbers stuffed into a quart jar works just fine.
Salt:
Salt plays an important role in fermentation. It creates the perfect environment for the good bacteria to thrive and prevents the undesirable guys from reproducing. There are many options for salt. The important thing is to make sure it has no additives. This eliminates ordinary table salt from our list of contenders.
My favorite salt for any purpose is Redmond’s Real Salt. I also often use Himalayan pink salt or plain, additive-free unrefined sea salt. Another great choice is Celtic sea salt. All of these are rich in trace minerals that are essential for our bodies and are an important dietary additive. Why not make salt count doubly!
Water:
Fermentation is caused by living lacto acid bacteria. These little creatures that are going to convert the sugar in your vegetables into healthy lactic acid in order to preserve the vegetables for long term use.
When you use tap water, you need to be mindful that chlorine is an antibacterial and can kill or severely inhibit these microbes, which would result in a failed fermentation.
If you are using chlorinated tap water, boil it and let it cool, to cause the chlorine to evaporate. Alternatively, leave the water uncovered for 24 hours. It is good practice to do that for your drinking water as well, to keep your gut bacteria healthy.
A better option is to use filtered water or well water.
Hard or mineral rich water can discolor your ferment and may cause off flavors.
Spices are all optional, use what your fancy tells you:
Use whole or cracked spices if possible.
To keep them from floating, you can place them in a small teabag or a piece of muslin, tie it together and place it into the bottom of the jars. That is optional.
Experiment with different mixes according to your preference.
The spices I use the most often:
- Dill: Essential for making dill pickles. The best dill for pickles is from your own garden, freshly picked. Ideally you’ll have some dill heads with seeds forming. Use one dill head per quart together with the stem and some leaves if possible. I had a dud year for dill this year, so I used dill seed that I had saved from last year’s harvest. It works even if it’s not ideal. The fresh dill will have a better fresh flavor. You can also just leaves if you have no heads yet. Be generous.
- Garlic: Garlic in my book is not optional, but I won’t try to twist your arm to use it. However, it gives your dills a lovely garlicky flavor and you’ll get some health benefits from the garlic as well. Add about a half dozen cloves per quart of pickles for a bold garlic flavor. I cut them in half to expose the inside. And when your ferment is finished, be sure to eat them too! You’ll find that pickled garlic is delicious and good for you!
- Cayenne pepper: I’m a hot and spicy fan and so I like my dills hot and spicy too. I usually add one or two cayenne peppers per quart jar of pickles. You can use dried or fresh ones here. Cut a slit into the fresh ones. Cayenne peppers are also great medicine and will add more health benefits to your pickles if you can stand the heat.
- Ginger root, ground or freshly sliced: I’m a big fan of ginger and use it in many baked recipes, tea, and probiotic ginger beer. It has so many medicinal properties and I like to include ginger in my diet daily if possible. Adding it to my probiotic dill pickles is another great way to get a dose of ginger and it gives the pickles a nice spiceyness.
- Turmeric root, ground or freshly sliced: There are two reasons for adding turmeric. One is that it will give your pickles and brine a lovely yellow hue and fresh flavor. The other, that turmeric is a potent medicinal herb that has been recommended for many chronic ailments. It is good practice to add it daily in our diet and this is a great way to get a dose when consuming it with your probiotic vegetables. Pair turmeric with with black pepper.
- Black Pepper: Add some whole peppercorns for flavor and if you added turmeric, you’ll want some black pepper as well to help your body to absorb the beneficial components of the turmeric.
Spices I use sometimes and to mix things up a little:
- Coriander: The seed from cilantro is another popular spice for pickles and pairs well with the dill.
- Mustard Seed: These give your pickles that awesome spicy mustardy flavor that you’ll get in mustard pickles.
- Celery Seeds
- Allspice Berries
- Fennel seeds
- Cinnamon stick
- Cloves
- Juniper berries
- Cardamom seeds
For a crispier pickle try adding
- A couple of tannin rich leaves: Any tannin rich leaves will do, such as bay leaves, grape leaves, or oak leaves.

Fermented Cucumber Pickles Recipe
01. Soak your cucumbers in ice water
If you prefer crispy pickles, this step is important. Otherwise it is optional. Rub off the spikes if you like, and then just place your cucumbers into the ice water as soon as possible after picking. Give them a half hour or so to chill and crisp. Then spot clean only, you’ll want to keep the lactobacilli on the skin. In the meantime gather your fermentation equipment and spices.
02. Place your spices into the fermentation container

Decide on what spices you would like to use for your pickles by choosing one from the list above, or experiment if you love another kind of spice that is not listed. For starters, use about a half teaspoon of each per quart. Place them in the bottom of the jar. If you want to avoid floaters, pack the loose spices into a piece of cheesecloth and secure with a length of cotton twine.
Use as much garlic as you like. Garlic adds health benefits, gives the dills a great flavor and garlic tastes great when fermented as well. So do eat those garlic cloves! If you want a subtle flavor, add just one or two per quart. But for a bold flavor, make it a half dozen or more.
You’ll learn what flavors you like best after you make several ferments. You could use several small containers and flavor each differently, then record what you added and discover what your favorites are.
03. Prepare your salt brine

Dissolve the salt in the filtered water. If you ferment in a half gallon jar, you’ll likely need about one quart of brine. I usually mix my brine in a quart canning jar, that I keep shaking until the salt is dissolved.
04. Place the cucumbers on top of the spices

Cut the blossom end off from each of your pickles. It contains an enzyme that will soften your pickles during the fermentation. Just take 1/4 inch or so off the tip.

Pack your cucumbers into the jar tightly and when the jar fills up, arrange the top cucumbers so they stay wedged in place below the rim area. Alternatively you can use a fermentation weight to hold them down. The cucumbers need to stay submerged in the brine to prevent oxygen from touching them. This is very important to avoid mushy cucumbers and to keep mold from growing on the surface.

05. Add brine to just cover all the cucumbers.

Mix salt and water to make your brine and cover the cucumbers, but leave about an inch of head space (the space between the top of the jar rim and the brine). If you have too little headspace, your ferment might bubble over. Which is not a big deal, just know that it might happen and keep a doubled up towel under it or a plate if you don’t want your counter to get wet.
06. Seal up the jar and place in a dark spot

Use an appropriate lid for your jar. Such as a fermentation lid, a mason jar lid, or cover with a cheesecloth and a rubber band. Fermentation lids are the easiest option, since you can just ignore your ferment until it’s done. They let the gasses escape, but oxygen can’t get in.

Place the pickles in a dark or shady spot with an ideal temperature of 70-75 degrees. If it’s very warm in your house, keep a closer eye on your pickles, they will ferment much quicker.
In case you use a screw-on lid, don’t close it too tight to allow gasses to escape. If you use a tight fitting lid with a seal, you should burp the jar once a day to let the gasses escape. Just barley open the lid enough to let the pressure out and reseal.
07. Taste and smell your fermented cucumber pickles to determine when it’s done

It is your preference which determines when your pickles are done. If you enjoy eating less sour pickles that are still really crunchy, then check after 3-4 days. The temperature in your room will determine the speed of fermentation. In a cold room it may take up to a week, but if it’s warm, 5 days may be enough to get some good acidity.
At this point the pickles are considered half-sour. You can remove the fermentation weight if you used one and place the ferment into the refrigerator or root cellar, where it will keep for a year or more. It will continue to sour, but very slowly.

If you prefer full-sour pickles, which have a greater amount of probiotics, let them ferment for at least 14 days, and up to a month. Taste a bite and if you are happy with the flavor, eat more or seal them up and place them in the root cellar or refrigerator for long term keeping. They will keep on the counter for many weeks too, but they will continue to sour and will start to get softer. Once the bacteria have eaten all the sugars in the fermentation, your pickles will start to deteriorate and will not be good to eat anymore. Placing them in cold storage will put those microbes to sleep or at least make them very groggy and this will bring fermentation to a near halt. Thus preserving your pickles.
How to know if my lacto-fermented cucumber pickles are safe to eat?
Your pickles should have a pleasantly tangy smell and taste. In the many years that I have fermented vegetables and fruits, I had very few failed fermentations and it was easy to know when they were bad. They won’t smell, feel and taste good. So do expect your ferments to be successful. It is the norm!
If there is a thin whitish crinkled layer on the surface, don’t be alarmed. That is not mold, but kahm yeast, which can be skimmed off and the pickles are just fine to eat. A floater with a little mold growing on it can be skimmed off as well.

Toss your pickles if you have a thick layer of fuzzy mold growing on it. The brine below is most likely fine, mold wont grow in the environment of the brine, but the taste of your ferment will likely be tainted with mold flavor.
Toss it if your pickles are mushy, slimy or too soft to be palatable, or if your brine smells winey. They may have over-fermented or some undesirable bacteria or yeasts took hold because your brine was not salty enough, or maybe it was too hot or too cold in your room.
If it smells repulsive, toss it. And “toss it” means, feed any failed attempts to your compost bin. If you used sea salt it will add valuable minerals to your compost and a small amount of salt will not ruin your compost but enhance it.
Enjoy Your Fermented Cucumber Pickles!
Now you have a jar of delicious fermented dill pickles. Enjoy every bite of it and know that when you do, you’ll also feed some probiotics to your gut, which improves digestion and also supports your immune system. What better way to get more healthy!
Let me know in the comments below if you made this recipe. I’d love to get your feedback and will gladly answer your questions. Did you make a batch of fermented dill pickles? What are your favorite flavors?
Subscribe to my newsletter, to get updates on more recipes to come. And do head on over to my basics of fermenting vegetables guide to find more details about fermenting any vegetables and the health benefits of lacto-fermented vegetables.
FAQs
How long does it take to ferment cucumbers?
That really depends on several factors. The temperature matters as well as the strength of your brine. And last but not least, your preference. Half sour pickles will take anywhere from 3-14 days. Full sour pickles can be achieved in 14-28 days. If it’s really warm out, increase the salt to slow down fermentation a little and to keep your pickles from getting mushy.
How to keep pickles crisp?
- Choose only firm, small pickles when you buy at the market.
- If you pick your own, pick small cucumbers early in the morning when it’s still cool out.
- Place your cucumbers into ice water immediately and let them bathe for half an hour or more.
- Cut the blossom end off.
- Add a tanin-rich ingredient, such as a grape leaf, oak leaf or bay leaf.
- Use a stronger salt brine. More salt will keep your vegetables more crunchy.
- Let them ferment at cooler temperature of about 65-75 degrees.
- Don’t let them ferment for too long. Taste the pickles after 5-7 days. If it’s cool in your room, it will take longer.
- Warmer temperatures and longer fermentation will begin to soften your pickles.
Other recipes you might like:
Creamy Cucumber Salad – This is a super delicious summer salad. A must for cucumber season, but it’s great any time if you can get cucumbers!
Fermented Coleslaw – A cabbage and roots medley with fabulous coloring and awesome flavor. Packs nutritious punch and probiotic diversity.
Fermented Salsa – Delicious zesty salsa, preserve fresh produce at the height of the season to enjoy during the garden down times. It’ll bring back memories of summer and tastes of fresh vegetables, while brimming with all the stored vitamins, nutrients and probiotics!
Fermented Jalapenos – Spicy, Easy, Tasty, Convenient. Keep a jar of sliced probiotic pickled jalapenos on hand for every day use.
Fermented Vegetables – How to ferment your summer’s bounty to enjoy all year long and with the added benefit of improving your gut health with probiotics. Learn the basic skill of fermenting any kinds of vegetables and get the science behind it too.
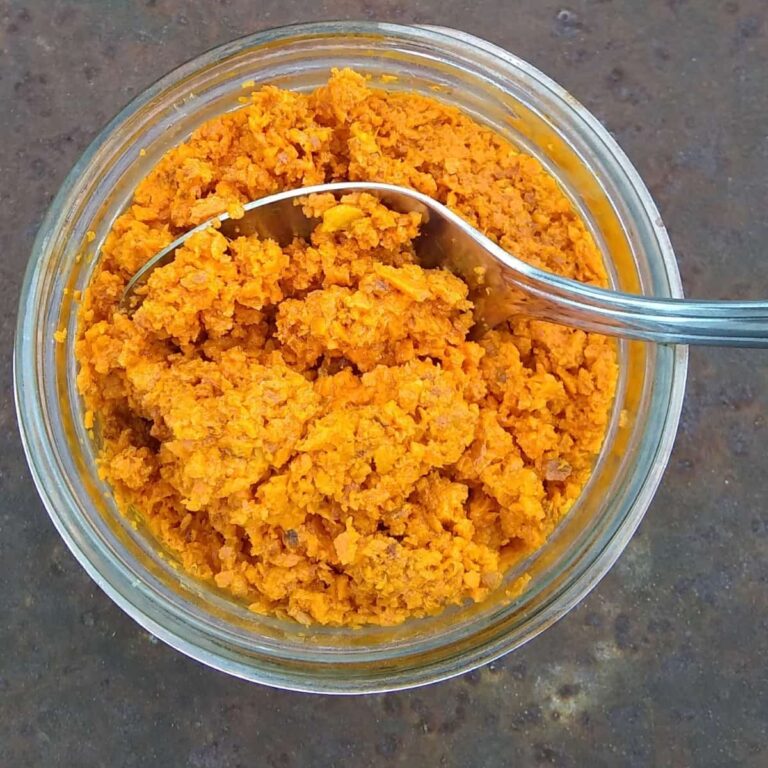
Fermented Garlic – Fermented garlic paste is kind of a special fermentation. It’s the ultimate convenience food and health supplement. But besides that, it gets better as it ages. Just like a fine wine.
Fermented Cherry Tomatoes – This is a tasty way to quickly preserve an abundance of cherry tomatoes for a tasty snack during the cold season. Give your immune system a boost when it needs it!
Try making Fermented Eggs! A probiotic, nutritious, delicious snack that you can keep in your refrigerator for several weeks. It’s there, ready to satisfy that food craving with something that’s good for you.
Fermented Basil Paste – Keep a jar of this in your refrigerator all year, to season your italian dishes. Preserve not only the herb, but also its aroma and pungent basil flavor. It’s one of my favorite ways to preserve basil
Brine fermented Basil – Basil can be brine-fermented too. Preserve whole basil leaves for your winter dishes right in your refrigerator all year.
Make your own Ginger Beer with wild fermentation. The traditional way to make this fizzy, tasty soft drink that will knock your socks off with flavor and boost your health too.
Zucchini Ikra, A Vegetable Salad – This fantastic, versatile dish from Eastern Europe can be a delicious chunky salad, salsa, relish, topping, or creamy dip, and more. And it tastes awesome!

Fermented Cucumber Pickles
Equipment
- ½ gallon glass mason jar. Or you can use 2 quart size glass jars. Just divide the spices in half for each quart.
- Lid. Such as a fermentation top, airlock lid, a regular mason jar lid, or a piece of cotton cloth secured with a rubber band. Fermentation lids and airlock lids are the easiest option, since you can just ignore your ferment until it’s done. They let the gasses escape, but oxygen can’t get in.
- Glass weight – My favorites by far, are glass weights, but you can use another object that will press the solid contents below the brine surface. A baggie filled with marbles or filtered water, a plastic lid from a regular size canning jar, a small baby food jar, a rock…
Ingredients
- 2 quarts firm, fresh pickling cucumbers
- 1 qt filtered water. If you are using chlorinated tap water, let the chlorine evaporate by boiling without a lid and letting it cool, or by letting it sit on the counter for 24 hours without a lid.
- 2-3 tbsp sea salt, Himalayan pink salt or Redmond's Real Salt. I use 2 tablespoons most of the time, but more if its very hot in the house. More salt = crispier pickles too. Avoid using common table salt or any salt that contains additives.
Optional Spices. Mix and match according to your preference. Listed in the order of my personal preference :). I most often use the first 6 spices listed.
- 2-12 cloves garlic – Garlic adds great flavor and adds powerful health benefits plus it tastes great fermented. Be generous and eat the garlic too. You can also make just garlic pickles by themselves for a healthy snack.
- 1-2 large dill heads or a big bunch fresh dill leaves – If you have no fresh dill, substitute with a tablespoon of dill seed.
- 2 pieces cayenne Pepper – if it's fresh cayenne cut a slit in it.
- 2 tsp black pepper corn
- 2 inch piece fresh ginger root – Adds a nice spiciness and has lots of health benefits too. Or substitute with ground or granulated dried ginger.
- 2 inch piece fresh turmeric root, thinly sliced – Adds a bright, fresh flavor and more health benefits. You can substitute with ground or granulated dried turmeric. If using turmeric, add black pepper as well, to make the health benefits of turmeric bio-available.
- 1 tsp coriander
- 2 tsp mustard seed
- 2 inch piece horseradish, thinly sliced Adds some zest and chewing on a piece, might provide relief during a cold or flu.
- 1-2 tannin rich leaves, such as oak, grape, or bay leaves – To help keep the cucumbers crispy
- 1 tsp celery seeds
- 2 tsp allspice berries
- 1 tsp fennel seeds
- 6 cloves
- 1 -2 tsp star anise
- 2 tsp juniper berries
- 1 tsp cardamom seeds
- 1 cinnamon stick
Instructions
- Soak your cucumbers in ice water to keep them crispyIf you prefer crispy pickles, this step is important. Otherwise it is optional. Just place the cukes into the ice water as soon as possible after picking. Give them a half hour or so to chill and crisp. Spot clean only, you'll want to keep the lactobacilli on the skin. In the meantime gather your fermentation equipment and spices.
- Mix your brine:To mix your brine, add 2 tablespoons of salt to one quart of filtered water and mix till dissolved.
- Place your spices into the mason jar or jarsDecide on what spices you would like to use for your pickles by choosing one or more from the list above, or experiment if you love another kind of spice that is not listed. Use about a half teaspoon of each per quart or a teaspoon per half gallon. Place them in the bottom of the jar. To avoid floaters, you can pack the loose spices into a piece of cheesecloth and secure with a piece of cotton twine. I like to use the first 6 spices in combination most of the time.
- Place the cucumbers in your containerPack your cucumbers into the jar and when the jar fills up, arrange the top cucumbers so you can wedge them in to stay in place below the rim area. Alternatively you can use a fermentation weight to hold them down. The vegetables need to stay submerged in the brine to keep oxygen from touching them. This is very important to avoid mushy vegetables and to keep mold from growing on the surface.
- Add brine and coverPour your brine into the jar to cover the cucumbers, but leave about an inch of head space (the space between the top of the jar rim and the brine). If you have too little headspace, your ferment might bubble over. Which is not a big deal, just know that it might happen and keep a doubled up towel under it, or a plate if you don’t want your counter to get wet.Put a cover on the jar and place it in a dark or shady spot with an ideal temperature of 70-75 degrees. If it’s very warm in your house, keep a closer eye on your pickles, they will ferment much quicker.If you use a screw-on lid, don't close it too tight to allow gasses to escape. If you use a tight fitting lid with a seal, you should burp the jar once a day to let the gasses escape. Just barely open the lid enough to let the pressure out and reseal.
- Taste and smell your cucumbers to determine when it’s doneYou should notice the brine becoming cloudy and after a day or two there will be air bubbles.Your preference determines when your pickles are done. If you enjoy eating less sour pickles that are still really crunchy, then check after 3-4 days. The pickles should have a pleasantly tangy smell and if you take a taste, it will be a mix of tangy and salty.The temperature in your room will determine the speed of fermentation. In a cold room it may take up to a week, but if it’s warm, 3-5 days may be enough to get some good acidity.At this point the pickles are considered half-sour pickles. If this is how you like them, you can remove the fermentation weight if you used one, seal the jar with a tight fitting lid, and place it into the refrigerator or root cellar, where it will keep for a year or more. It will continue to sour, but very slowly.If you prefer full-sour pickles, which have a greater amount of probiotics, let them ferment for at least 14-28 days. Taste a bite and if you are happy with the flavor, seal them up and place them into the root cellar or refrigerator for long term keeping.They will keep on the counter in a coolish location for many more weeks or even months too, but they will continue to sour and will start to get softer eventually.
- Once the bacteria have eaten all the sugars in the fermentation, your pickles will start to deteriorate and will not be good to eat anymore. Placing them in cold storage will put those microbes to sleep or at least make them very groggy and this will bring fermentation to a near halt. Thus preserving your pickles.
Notes
Pin This Post

Shop This Post
Cambro bpa-free container
Butter muslin
Floursack towel
Fermentation tops
Airlocks
Redmond’s Real Salt
Himalayan pink salt
Celtic sea salt
Glass weights
Ceramic weights
Acacia wood tamper