Fermented Chili Paste is a great condiment to have on hand for anytime you want to add a bit of spice to your meals or to provide free of choice for those daring eaters.
This post contains affiliate links. As an Amazon affiliate I make a small commission at no extra cost to you if you make a qualifying purchase. See my full disclosure here.
If you love spicy foods you are probably growing some hot peppers in your garden. I always have a row of serranos, jalapenos, cayennes, and Thai peppers going in the summer and they provide me with spicy peppers for my summer meals, like my popular fermented tomato salsa and cantaloupe hot sauce.
By the end of the season they are usually loaded with green peppers that didn’t quite ripen in time before frost is in the forecast. I hurried to pick them all the day before a temperature dip was on the forecast, and ended up with a big bowl of spicy goodness to do something with. And my favorite something is to preserve them by fermentation. Find out why below!
Let’s ferment some Hot chili Peppers!

I often dehydrate or freeze slices of hot peppers so they are ready to use in meals. But I much prefer fermenting these little spicy chilies, either sliced in brine as I outlined in the post lacto-fermented vegetables, or as a paste. Fermentation is my go to preservation method for so many reasons.
Why you’ll love fermented chili paste

- It’s a quick and easy way to preserve a bowl full of hot peppers quickly when you’re in a rush. Likewise, if you come across a sale of hot peppers at the market, here is a good way to save some money, buy them cheap, ferment them, and keep them stocked in your refrigerator.
- Convenience. Because you can have a jar full of sliced or blended hot peppers in your fridge for any time you need them throughout the year. Ready to put on sandwiches or salads or into soups. Very convenient! No need to run to the freezer or rehydrate those hard dry bits.
- Rich in Nutrients and probiotics. All those nutrients that are in peppers are enhanced by fermenting and probiotics are added. It’s like 1+1=3.
- Long-term keeper. Peppers keep for at least a year or two in cold storage at their prime. In contrast frozen peppers will get freezer burnt and undesirable often after just a few months.
- Use just like fresh picked. Fermented peppers can be used raw on sandwiches and they taste super awesome that way, which I can’t say of limp, defrosted pepper slices or chewy dried bits.
So let’s get to the recipe!
Equipment:
A large bowl – For mixing your ingredients.
Mason jar or flip top jar – This is where you’ll ferment your chili paste. It’s hard to say what size you’ll need until you chop and measure your peppers. I had about 5 cups of various hot peppers and ended up with three fourths of a quart jar with paste. So choose your size after chopping.
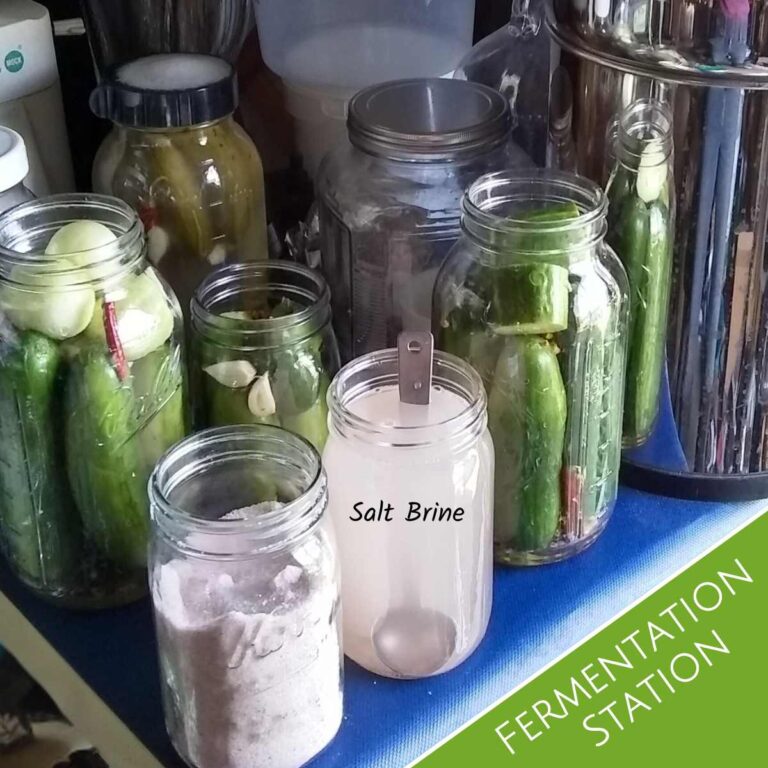
Fermentation weight – Almost always, I recommend using a fermentation weight. But they don’t work with runny paste, because they will just sink down. So I don’t use any weight if my jar is nearly full and with a fermentation lid, I usually don’t have any problems. But if my jar is not full, I use a baggie filled with salt brine (mix 1 pint of water + 1 tablespoon of salt) and place that on top of the ingredients. The reason we use brine here is just in case the bag leaks. This way your salt ratio will not get diluted.
Fermentation lid or 2-piece mason jar lid – I highly recommend a fermentation top or airlock for fermenting anything. These keep the oxygen out while letting the fermentation gasses escape. No babysitting required. But a regular mason jar lid works alright too. Just be aware that the ring could rust and get stuck on the jar. And don’t forget to burp it once a day. Of course, you don’t need a lid if you’re using a flip-top jar.
Scale (optional) – You don’t need a scale, but if you’re fermenting a lot, it makes sense to have one so you can measure your ingredients to find the correct salt ratio. Here is a very inexpensive scale with great reviews and it looks exactly like mine.
Canning funnel (optional, but helpful) – You can use an easy to find canning funnel made of plastic, anywhere canning supplies are sold. I prefer a wide mouth funnel made of stainless steel. This will help get all of the ingredients into your fermentation jar with not too much of a mess. This gal cannot do anything without a mess, and needs any help she can get to minimize it, lol.
Blender or Food processor – Use a blender or Vitamix for a smooth blend, or you can more coarsely chop the ingredients with a food processor, which is what I like.
Tamper (optional) – I love using my acacia wood pickle packer for packing ingredients into the jar and coaxing the juices out of them. But you can use a spoon or your fist instead.
Ingredients:

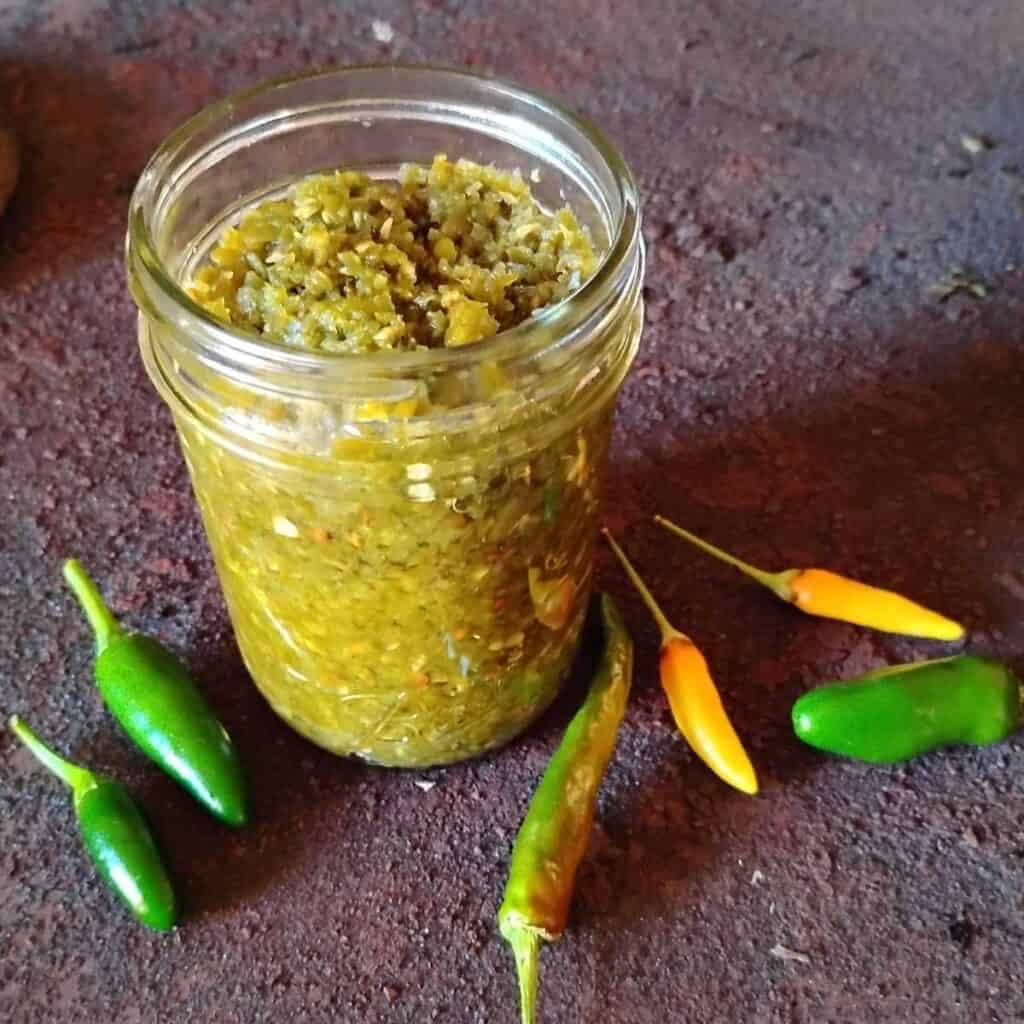
Hot peppers – I made this fermented chili paste with almost all green peppers. I used what I found in the garden. Besides, I normally dry my spicy red peppers to grind into a powder to use as a seasoning. And then I use the green ones to ferment.
You can use any that you can get your hands on, or you can adjust the heat. Make it incendiary with just Thai peppers or habaneros, or go a little milder for a great all purpose paste by using all jalapeños or mixing in some sweet peppers too. But I like to just throw in what I have and it comes out pretty darn spicy usually.
Salt – I like to use Redmond’s Real Salt, Himalayan pink salt , or Celtic sea salt. All of these contain essential trace minerals that the body needs and I prefer these as a more healthy choice. If you’re using kosher salt or any sea salt, check the box label. They can have additives and we don’t want those in any fermentation. They can inhibit the growth of the micro organisms that we are trying to propagate here and they can also give your fermentation off flavors and colors. Avoid common table salt for this reason!
Optional: garlic – I didn’t use garlic in this fermented chili paste, but it goes well with it if you like it mixed.
Steps:
01. Prepare your blender.

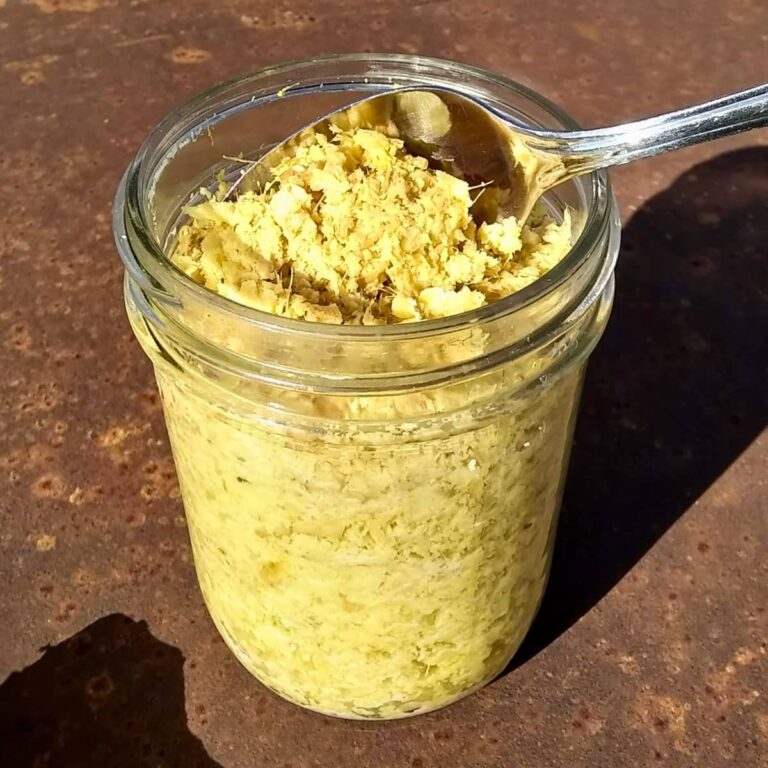
O2. Trim your peppers – Take the stems off of the peppers, but you can leave the calyx on, which adds flavor to your chili paste. Roughly slice the hot peppers if they are large, but you can leave the small ones whole. I don’t wear gloves, but some people prefer to do so. And I regret this choice occasionally, but hate working with gloves on. Just don’t say I didn’t warn you!

03. Add the peppers to the blender bowl as you go – If you’re using garlic, add that as well.

04. Process – if you have a lot of peppers, process in batches. Blend or chop to your desired consistency

05. Adding Salt – If you’re using a scale, set your bowl on it and tare it on the gram setting. Pour the processed peppers (and garlic if you use it) into the bowl.
Calculate your salt amount: read the weight with all the ingredients in the bowl. Now you’ll want to find out the ratio of the salt to add. We’ll be using 2.5% of the combined weight in salt. Here is how you figure that: take the weight of your ingredients x .025. The result gives you the amount of salt to add. For example, if your weight shows 1200 grams of ingredients, compute 1200 x .025, which will tell you to use 30 grams of salt.
Without a scale, measure your chopped ingredients in a measuring cup and just add 2 tsp of salt per cup.
Mix everything and let it rest for a few minutes to draw out the juices.

06. Pack your fermentation jar – Using a canning funnel, pour your mixed ingredients into a canning jar or flip-top jar of an appropriate size. Then press down with your fist, a spoon, or a pickle packer, to get the juices to rise above the ingredients.

07. Top with a weight – Place a fermentation weight on top. The purpose of this is to keep your ingredients submerged below the surface of the brine. I find that a freezer baggie filled with brine works best for this. You’ll reduce the space in the jar that holds oxygen, especially if it’s not full to the top and it keeps the little bits down better than a glass weight. However, I’ve also fermented without a weight altogether. But to do so, be sure the jar is filled to within an inch and a half of the rim and that you use a fermentation top or a sealing lid, that will need to be burped every day. Otherwise your ferment might turn dark and yeasty on top.
08. Seal your jar – If you have a flip-top jar, just close it up now.

If you’re using a mason jar, put your 2-piece lid on the canning jar, or better a fermentation lid. Now let it sit for a few weeks to ferment at room temperature. The cooler it is, the longer it will take. Don’t try to ferment below 65℉. Best temperature is about 72-80℉. Warmer temperatures can cause fermentation to happen too rapidly and result in an inferior product or worse, a nasty mush. Cool temperatures will possibly prevent fermentation or stall it, to the point where bad bacteria might thrive before the good ones create enough lactic acid, which is needed to kill the bad guys.

09. Ferment and observe for about 3 weeks – Keep a casual eye on it, but don’t intervene, except when you use a sealed lid. Then you’ll need to burp it once a day by quickly twisting the lid open then tighten it right up again. Don’t take the lid off the jar unless you have an issue to deal with.
After 2-3 weeks, smell the ferment. If it has a pleasant fermentation smell, taste a bit. It should taste pretty tangy, and if it does and you like the taste, it’s ready to put it into cold storage. If it’s not tangy enough, let it go another week or so.

And now you’ve got amazing tangy chili paste that will hopefully last all year till the next crop of peppers grows in your garden. I like to fill the chili paste into smaller jars at this point because I use only small amounts each time and don’t like to deal with a whole big jar just for a spoonful. This paste will keep in the refrigerator for a year or more. I’ve had some fermented chili paste last for over 2 years and it was perfectly fine to eat. I like to claim that it gets better as it ages, like a good aged fermented wine.
Looking ahead while the going is good
It is such a good feeling to be able to use your summer’s abundance from the garden and preserve it for the down time. Winter comes quickly and if you’re a homesteader, you’ll want to prepare for that time so you can stock up your pantry with great tasting, fresh preserved, superior foods that make you prefer to eat at home. Everything tastes better when it’s home cooked and preserved in it’s prime from your own garden.
This chili paste will be a great addition to your meals if you like spicy foods. And it will help support your immune system and provide a great medicinal food for cold and flu season as well. I hope you will give this easy to make chili paste a try. If you do, let us all know in the comments below. We’d love to hear what your favorite uses are for hot chili paste!
And I’d be thrilled if you join the Food For Life Garden Newsletter. Get all the latest recipes and news and don’t miss any new homestead tips and curiosities!
Common Questions
How does fermentation work?
Check out my post about lacto-fermented vegetables and benefits. There I go into detail about fermentation, how it works, why it works and why it’s so good for your health. You’ll find master recipes there as well for the different types of fermentation.
How long will this chili paste keep?
Try to keep the chili paste below 55℉ for long term storage. Then it will keep for at least a year. I’ve kept chili paste for over 2 years just fine. It will keep fermenting even at cold temperatures, but very slowly and it won’t turn bad unless you use a dirty spoon in it or if you don’t keep a tight lid on it. You can also vacuum seal the jars until you’re ready to use it, but I never found this necessary.
Do I have to refrigerate this fermented hot sauce?
No, but it won’t keep as long at room temperature. If you have a cellar, you can keep it in a root cellar for a very long time too. At least a year. If you don’t have a root cellar, it is best to keep it in the refrigerator if you want it to last. But if you forget and leave it on the table for a day or two, it’s fine. Just know that you’ll wake up the lactic acid bacteria and they will get more active again, which might make your sauce more tangy.
What is the best temperature for fermenting?
Around 72-80 degrees is a good temperature for fermenting. Too low, and it might not get going fast enough to keep the undesirable bacteria from multiplying. If it’s too hot, it could over-ferment quickly and turn to mush and possibly putrid. So try to keep it around the ideal temperature until it’s ready to go into cold storage.
How do I know if my fermented chili paste turned bad?
If you see a bit of mold growing on the top or around the rim, you can just clean the rim or skim it off. It is just surface mold. However, if the whole surface is covered with hairy mold, I would toss it. Likely the fermentation is still good underneath, but the mold can taint the flavor. It makes a great compost accelerator though, so it’s not a complete waste. If your ingredients smell bad, or if they turn mushy and slimy, then it is time to toss it too. Something went wrong and it can happen. You’ll know if it’s bad, so if it smells pleasant and looks good, don’t be afraid to taste it. And if it tastes good, it’s fine.
Other fermenting recipes you might like:
Pepper Uses and Benefits – Learn about all the awesome benefits and uses for sweet and hot peppers and how to use peppers to improve your health.
Fermented Salsa – Delicious zesty salsa. Preserve fresh produce at the height of the season to enjoy during the garden down times. It’ll bring back memories of summer and tastes of fresh vegetables, while brimming with all the stored vitamins, nutrients and probiotics!
Fermented Salsa Verde – Try this bright and fresh tasting green salsa. It’s so good on your grilled meats, with baked potatoes, as a dip or condiment, as part of a salad dressing, and with any Mexican dishes!
25 Essential Herbs To Plant – Start your home apothecary garden with these 25 powerful allies for your health. Learn their benefits, how to grow them and where to source them.
Fermented Hot Sauce With Cantaloupe – How to make a delicious fermented hot sauce that is great with meat, fish, eggs and on sandwiches. What a great way to use some cantaloupe and spicy peppers.
Fermented Jalapenos – Make these for convenient taco, sandwich and burger toppers. Chop into potato salad for some zest or make a spicy creamy cheese spread.
Jalapeño Cheese Pie – A long-time favorite dish of mine that I make each year when my jalapenos put out fruit in the garden. It’s an old recipe that makes an awesome appetizer, potluck dish, or game-day treat.
Grow your own peppers from seeds – Your complete guide to growing peppers. From selecting seeds to planting, growing, companion planting, and harvesting. Find out the benefits of growing your own peppers and how to preserve them.
Fermented Garlic – Lacto-fermented garlic paste is kind of a special food. It’s the ultimate convenience food and health supplement. But besides that, it gets better as it ages. Just like a fine wine.
Lacto fermented sauerkraut – Famously healthy and so tasty! Make your own from scratch.
Lacto-Fermented Vegetables – How to ferment your summer’s bounty to enjoy it all year long. They are full of probiotics and are great for your gut health. Learn the basic skill of fermenting any kinds of vegetables and get the science behind it too.
Ham Jambalaya – A perfect recipe for using leftover meat, mushrooms, peppers, and other veggies. I love it for leftover Christmas or Easter ham!
Pin this Fermented Chili Paste Recipe

Fermented Chili Paste
Equipment
- A large bowl
- canning jar or flip top jar
- Fermentation weight
- Fermentation Lid or 2-piece canning jar lid.
- Scale (optional).
- Canning funnel (optional, but helpful).
- Blender or Food processor
- Pickle packer (optional)
Ingredients
- Hot peppers
- Salt
- Optional: garlic
Instructions
- Prepare your blender.
- Take the stems off of the peppers, but you can leave the calyx on, which adds flavor to your chili paste.
- Roughly slice the hot peppers if they are large, but you can leave the small ones whole. Consider wearing gloves for this.
- Add the peppers to the blender bowl as you go.
- Add the garlic if you're using it.
- Process in batches if you have a lot. Blend or chop to your desired consistency.
- If you’re using a scale, set your bowl on it and tare it on the gram setting.
- Pour the processed peppers and garlic if you use it, into the bowl.
- Add the salt. If you are using a scale, read the weight with all the ingredients in the bowl. Now you'll want to find out the ratio of the salt to add. We'll be using 2.5% of the combined weight in salt. Here is how you figure that: take the weight of your ingredients x .025. The result gives you the amount of salt to add. For example, if your weight shows 1200 grams of ingredients, compute 1200 x .025, which will tell you to use 30 grams of salt. Without a scale, measure your chopped ingredients in a measuring cup and just add 2 tsp of salt per cup.
- Mix everything and let it rest for a few minutes to draw out the juices.
- Using a canning funnel, pour your mixed ingredients into a canning jar or flip-top jar of an appropriate size.Then press down with your fist, a spoon, or a pickle packer, to get the juices to rise above the ingredients.
- Place a fermentation weight on top. The purpose of this is to keep your ingredients submerged below the surface of the brine. I find that a freezer baggie filled with brine works best for this. You'll reduce the oxygen occupied space in the jar if it's not full to the top and it keeps the little bits down better than a glass weight. However, I've also fermented this paste without a weight. But to do so, be sure the jar is filled to within an inch of the rim and that you use a fermentation top or a sealing lid, that will need to be burped every day. Otherwise your ferment might turn dark on top and it could turn funky. Keep an eye on it.
- If you have a flip-top jar, just close it up now. If you're using a mason jar, put your 2-piece lid on, or better a fermentation lid. Now let it sit for a few weeks to ferment at room temperature. The cooler it is, the longer it will take. Don't try to ferment below 65 degrees. Best is about 72-80 degrees. Warmer temperatures can cause fermentation to happen too rapidly and result in an inferior product. Cool temperatures can prevent proper fermentation.
- Keep a casual eye on it, but don't intervene, except when you use a sealed lid that needs to be burped daily. You'll want to quickly twist the lid open, then tighten it again right away. Don't take the lid of the jar unless you have an issue to deal with.
- After 2-3 weeks, it should smell pleasantly fermented. Taste it. If it's tangy and you like the taste, it's good to put it into cold storage.
- And now you've got amazing chili paste that will hopefully last all year till the next crop of peppers grows in your garden. I like to fill the chili paste into smaller jars at this point because I use only small amounts at a time and don't like to deal with a whole big jar each time I need just a spoonful. This paste will keep in the refrigerator for a year or more. I've had some fermented chili paste go for over 2 years and it was perfectly fine to eat. I like to claim that it gets better as it ages, like a good fermented wine. Enjoy!
Notes
Pin this post


Shop This Post
Wide mouth funnel
Blender
Vitamix
food processor
Scale
Fermentation tops
Airlocks
Redmond’s Real Salt
Himalayan pink salt
Celtic sea salt
Bormioli Fido Jar
Glass weights
Ceramic weights
Acacia wood tamper
[pt_view id=”1f957233lv”]